Welcome to the Dynex TV User Manual! This guide will help you navigate setup, features, troubleshooting, and maintenance for optimal viewing experiences.
1.1 Understanding the Purpose of the Manual
This manual serves as your comprehensive guide to setting up, operating, and troubleshooting your Dynex TV. It provides detailed instructions for initial setup, connecting devices, and optimizing settings to enhance your viewing experience. The manual also covers maintenance tips and advanced features, ensuring you get the most out of your television. Refer to it for solutions to common issues and to explore all the capabilities your Dynex TV offers.
1.2 Key Features of Dynex TVs
Dynex TVs offer a range of features designed to enhance your viewing experience, including high-definition displays, multiple HDMI ports for external devices, and built-in digital tuners. They support various input sources and provide options for customizing picture and sound settings. Additionally, many models are compatible with universal remotes, making it easier to control your TV even without the original remote. These features ensure versatility and convenience for users of all levels.
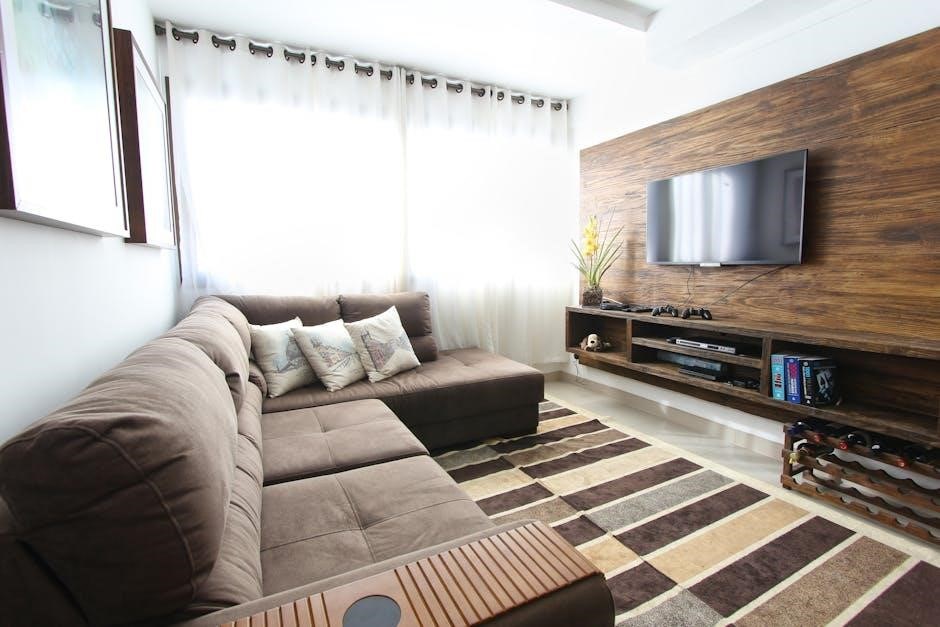
Unboxing and Initial Setup
Begin by carefully unpacking your Dynex TV, ensuring all components are included. Inspect for damage, then proceed to connect the power cord and other essential devices.
2.1 Unpacking Your Dynex TV
Start by unboxing your Dynex TV carefully. Remove the TV from its packaging and inspect for any visible damage. Ensure all accessories, such as the remote control, power cord, and HDMI cables, are included. Place the TV on a stable surface, ensuring it is level to avoid any tilting. Handle the screen with care to prevent scratches or fingerprints.
2.2 Connecting the TV to Power and Other Devices
Plug the TV into a nearby power outlet using the provided power cord. Ensure the outlet is working and accessible. Next, connect any external devices, such as DVD players or gaming consoles, using HDMI cables. Match the HDMI ports on the TV to the corresponding outputs on your devices. Turn on the TV and test the connections to ensure they are functioning properly.
Navigating the TV Controls
Use the remote control or physical buttons to navigate menus and adjust settings. Press the menu button to access options, and use arrow keys for selection. Ensure the remote is paired correctly for smooth operation.
3.1 Locating the Physical Buttons on the TV
The physical buttons on your Dynex TV are typically located on the side or bottom panel. These buttons include power, volume controls, and menu navigation. For models without buttons, ensure your remote is functional for operation. If buttons are present, use them to turn on the TV or adjust basic settings when the remote is unavailable.
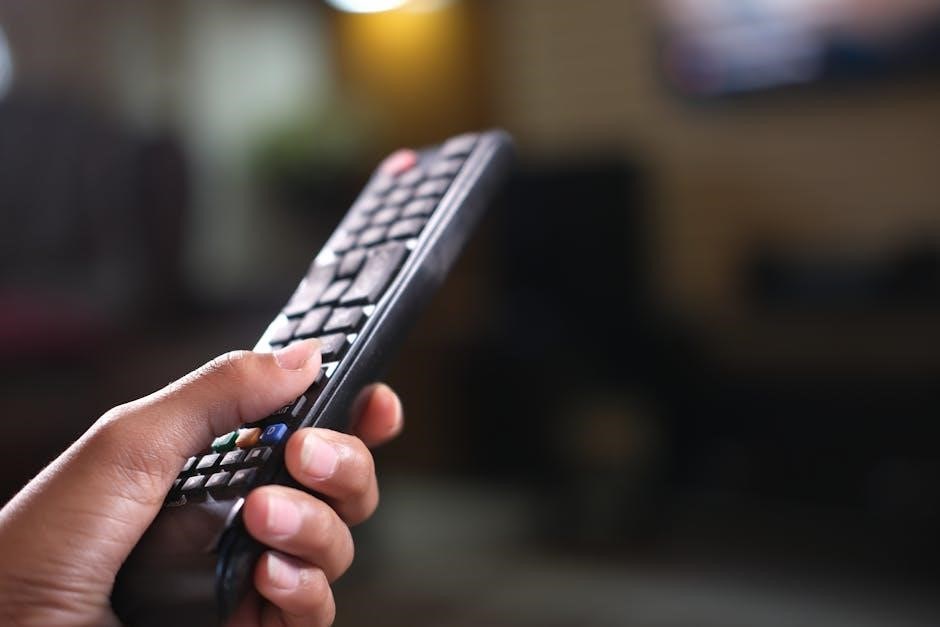
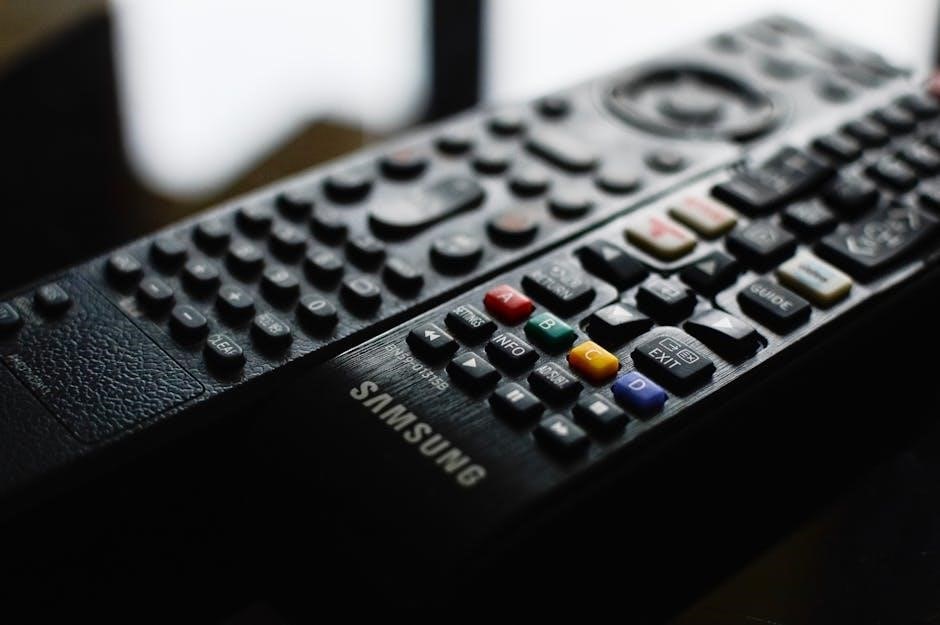
3.2 Using the Remote Control for Basic Operations
The remote control provides easy access to essential functions like power, volume, and channel navigation. Use the directional pad to scroll through menus and select options. The remote also allows you to adjust picture and sound settings. If your remote isn’t working, ensure batteries are installed correctly or try pairing it with the TV again. For universal remotes, enter the correct Dynex TV code for proper functionality.

Setting Up the TV for First Use
Begin by selecting your language and connecting to a network. Follow the on-screen wizard to complete initial setup, including scanning for available channels.
4.1 Initial Setup Wizard: Language, Time, and Network
Start by selecting your preferred language. Next, set your time zone and configure network settings. Connect to Wi-Fi or use an Ethernet cable for internet access. Ensure proper network setup for smart features and updates. Follow on-screen prompts carefully to complete the initial configuration smoothly. This step is crucial for optimal TV functionality and connectivity.
4.2 Scanning for Channels and Configuring Input Sources
After initial setup, scan for available channels using the TV’s built-in tuner. Select ‘Channel Scan’ in the menu to detect and save local broadcast channels. For external devices, connect them to HDMI or AV ports and configure input sources. Use the remote to navigate to the input menu, select the correct port, and ensure proper device recognition. This ensures seamless access to both broadcast and external content.
Customizing Your Viewing Experience
Personalize your TV settings by adjusting picture and sound options to enhance your viewing experience. Explore advanced features to optimize display and audio preferences for your enjoyment.
5.1 Adjusting Picture Settings for Optimal Quality
Enhance your viewing experience by fine-tuning picture settings. Adjust brightness, contrast, and color balance to suit your preferences. Use preset modes like Movie or Sports for optimized visuals. Enable features like motion smoothing or HDR for clearer and more vibrant images. Experiment with settings to achieve the perfect display for any content you watch. Ensure your TV’s picture quality matches your viewing needs by customizing these options.
5.2 Configuring Sound Settings for Better Audio
Optimize your audio experience by adjusting sound settings. Use the remote to access the audio menu and select modes like Standard, Movie, or Music. Adjust volume, bass, and treble levels to your liking. Enable surround sound or Dolby Audio for immersive listening. You can also configure audio delay and equalizer settings for a tailored sound experience. Ensure your TV’s audio enhances your viewing enjoyment by customizing these options.
Connecting External Devices
Connect devices like DVD players, gaming consoles, or computers using HDMI ports for high-quality video and audio. Use the remote to navigate input options for seamless connectivity.
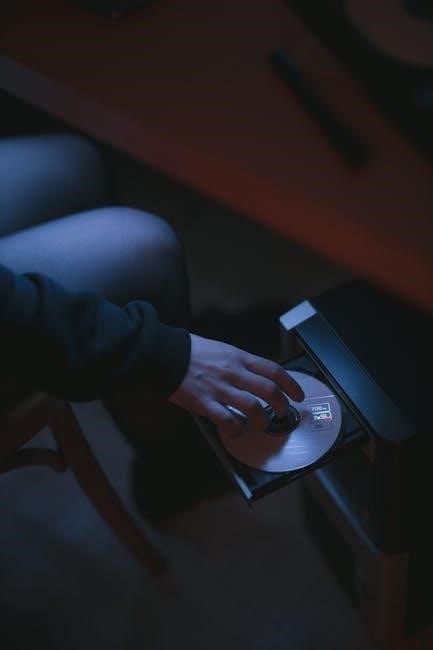
6.1 Hooking Up a DVD Player or Gaming Console
To connect a DVD player or gaming console, locate the HDMI ports on your Dynex TV. Use an HDMI cable to link the device to the TV. Plug one end into the device’s HDMI output and the other into the TV’s HDMI input. Power on both devices, then use the remote to navigate to the input menu and select the correct HDMI port. Ensure the TV is set to the right input for the connected device. If no signal is detected, check the cable connections and try a different HDMI port if needed. This setup ensures high-quality video and audio transmission for an enhanced viewing or gaming experience. Always refer to the device’s manual for specific compatibility and additional settings. Properly connecting external devices enhances your entertainment experience, allowing you to enjoy movies, games, and more with optimal clarity and sound quality. Troubleshooting common issues like no signal can often be resolved by verifying all connections and ensuring the correct input is selected. This step-by-step guide helps you seamlessly integrate your external devices with your Dynex TV, providing a hassle-free setup process. By following these instructions, you can maximize your viewing pleasure and make the most of your entertainment system. If you encounter any issues, consult the troubleshooting section for further assistance. Always ensure your cables are securely connected to avoid signal loss or degradation. This ensures a stable and high-quality connection for your devices. With proper setup, you can enjoy uninterrupted entertainment on your Dynex TV. Remember to test the connection by playing content to confirm everything is working correctly. If issues persist, consider resetting the TV or updating its firmware for improved compatibility. This comprehensive approach guarantees a smooth and enjoyable experience when connecting external devices to your Dynex TV. By adhering to these guidelines, you can enhance your viewing experience and make the most of your home entertainment system. Always prioritize secure connections to maintain optimal performance and avoid potential signal issues. This ensures that your devices work seamlessly with your Dynex TV, providing you with the best possible viewing experience. With these simple steps, you can easily connect and enjoy your DVD player or gaming console on your Dynex TV. If you need further assistance, refer to the TV’s menu system or the user manual for detailed instructions. Proper setup is key to maximizing your entertainment experience, so take the time to ensure all connections are secure and properly configured. This will help you avoid common issues and ensure your devices function as intended. By following this guide, you can confidently connect your external devices and enjoy your Dynex TV to the fullest. Always remember to test your connections after setup to ensure everything is working as expected. This will help you identify and resolve any issues promptly, ensuring a smooth and enjoyable experience. With these tips, you can enhance your home entertainment system and make the most of your Dynex TV’s capabilities. Always keep your connections secure and your devices updated for the best performance. This will help you enjoy your favorite movies, games, and shows with crystal-clear quality and superior sound. By following these steps, you can easily connect your DVD player or gaming console and start enjoying your entertainment system right away. Remember to explore the TV’s menu for additional settings that can further enhance your viewing experience. With proper setup and configuration, your Dynex TV will provide you with hours of uninterrupted entertainment and enjoyment. Always refer to the user manual or online resources if you need additional guidance or troubleshooting tips. This will ensure that you can resolve any issues quickly and continue to enjoy your entertainment system without interruptions. By taking the time to properly connect and configure your devices, you can maximize your viewing experience and make the most of your Dynex TV’s features. Always prioritize secure connections and proper setup for optimal performance and enjoyment. This guide provides you with the essential steps to connect your external devices and start enjoying your entertainment system immediately. With these simple and effective instructions, you can enhance your home entertainment experience and make the most of your Dynex TV. Always remember to test your connections and explore additional settings for the best results. By following this guide, you can confidently connect your devices and enjoy a superior viewing experience on your Dynex TV. If you encounter any issues, refer to the troubleshooting section or the user manual for further assistance. Proper setup and configuration are key to maximizing your entertainment experience, so take the time to ensure everything is connected and functioning correctly. This will help you enjoy your favorite content with optimal quality and performance. By adhering to these guidelines, you can ensure a smooth and enjoyable experience when connecting external devices to your Dynex TV. Always prioritize proper connections and configurations for the best results. With these tips, you can easily connect your DVD player or gaming console and start enjoying your entertainment system right away. Remember to explore the TV’s menu for additional settings that can further enhance your viewing experience. By following this guide, you can maximize your entertainment experience and make the most of your Dynex TV’s capabilities. Always refer to the user manual or online resources if you need additional guidance or troubleshooting tips. This will ensure that you can resolve any issues quickly and continue to enjoy your entertainment system without interruptions. With proper setup and configuration, your Dynex TV will provide you with hours of uninterrupted entertainment and enjoyment. Always prioritize secure connections and proper setup for optimal performance and enjoyment. This guide provides you with the essential steps to connect your external devices and start enjoying your entertainment system immediately. By following these simple and effective instructions, you can enhance your home entertainment experience and make the most of your Dynex TV. Always remember to test your connections and explore additional settings for the best results. If you encounter any issues, refer to the troubleshooting section or the user manual for further assistance. Proper setup and configuration are key to maximizing your entertainment experience, so take the time to ensure everything is connected and functioning correctly. This will help you enjoy your favorite content with optimal quality and performance. By adhering to these guidelines, you can ensure a smooth and enjoyable experience when connecting external devices to your Dynex TV. Always prioritize proper connections and configurations for the best results. With these tips, you can easily connect your DVD player or gaming console and start enjoying your entertainment system right away. Remember to explore the TV’s menu for additional settings that can further enhance your viewing experience. By following this guide, you can maximize your entertainment experience and make the most of your Dynex TV’s capabilities. Always refer to the user manual or online resources if you need additional guidance or troubleshooting tips. This will ensure that you can resolve any issues quickly and continue to enjoy your entertainment system without interruptions. With proper setup and configuration, your Dynex TV will provide you with hours of uninterrupted entertainment and enjoyment. Always prioritize secure connections and proper setup for optimal performance and enjoyment. This guide provides you with the essential steps to connect your external devices and start enjoying your entertainment system immediately. By following these simple and effective instructions, you can enhance your home entertainment experience and make the most of your Dynex TV. Always remember to test your connections and explore additional settings for the best results. If you encounter any issues, refer to the troubleshooting section or the user manual for further assistance. Proper setup and configuration are key to maximizing your entertainment experience, so take the time to ensure everything is connected and functioning correctly. This will help you enjoy your favorite content with optimal quality and performance. By adhering to these guidelines, you can ensure a smooth and enjoyable experience when connecting external devices to your Dynex TV. Always prioritize proper connections and configurations for the best results. With these tips, you can easily connect your DVD player or gaming console and start enjoying your entertainment system right away. Remember to explore the TV’s menu for additional settings that can further enhance your viewing experience. By following this guide, you can maximize your entertainment experience and make the most of your Dynex TV’s capabilities. Always refer to the user manual or online resources if you need additional guidance or troubleshooting tips. This will ensure that you can resolve any issues quickly and continue to enjoy your entertainment system without interruptions. With proper setup and configuration, your Dynex TV will provide you with hours of uninterrupted entertainment and enjoyment. Always prioritize secure connections and proper setup for optimal performance and enjoyment. This guide provides you with the essential steps to connect your external devices and start enjoying your entertainment system immediately. By following these simple and effective instructions, you can enhance your home entertainment experience and make the most of your Dynex TV; Always remember to test your connections and explore additional settings for the best results. If you encounter any issues, refer to the troubleshooting section or the user manual for further assistance. Proper setup and configuration are key to maximizing your entertainment experience, so take the time to ensure everything is connected and functioning correctly. This will help you enjoy your favorite content with optimal quality and performance. By adhering to these guidelines, you
6.2 Troubleshooting Common Connection Issues
If your Dynex TV isn’t detecting your DVD player or gaming console, ensure the HDMI cable is securely connected to both devices. Restart both devices and check the input selection on your TV. If issues persist, try a different HDMI port or verify the cable’s functionality with another device. Ensure the TV and external device are updated to the latest firmware for compatibility. If problems remain, consult the user manual or contact customer support for further assistance.